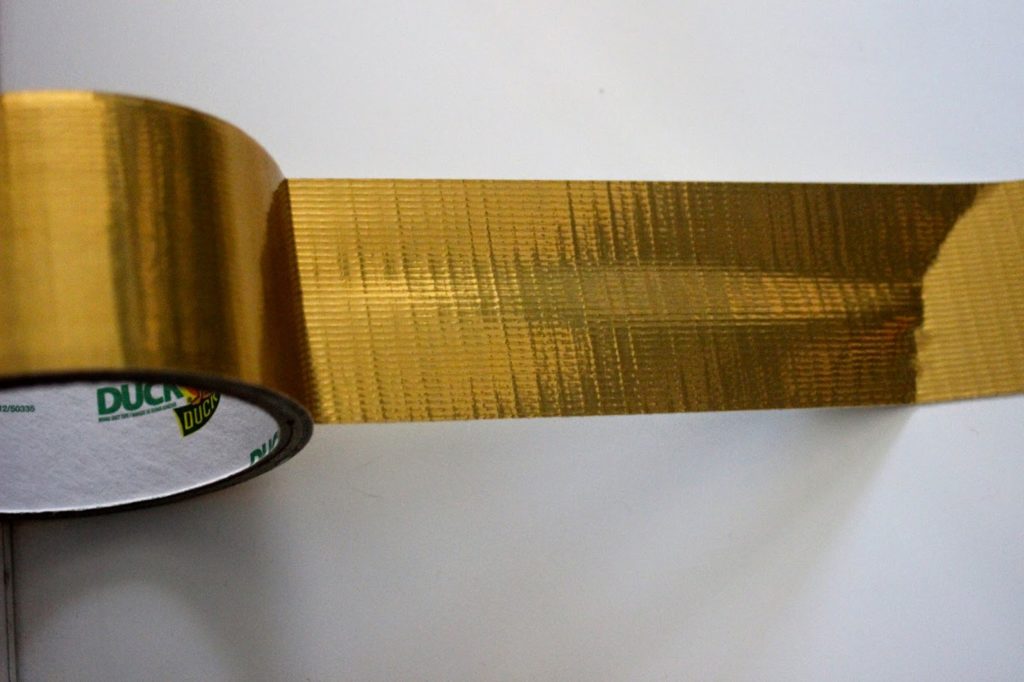
1. Begin by thinking of the design you’d like to give your table. Chevron, stripes, squares and rectangles are all good and easy to create designs. Using duck tape is a great alternative to actually painting your tables. If you’re someone that is bit indecisive or like to redecorate often, this is the perfect option for you. Whenever you want to change the look of your table, simply remove the tape and begin again.
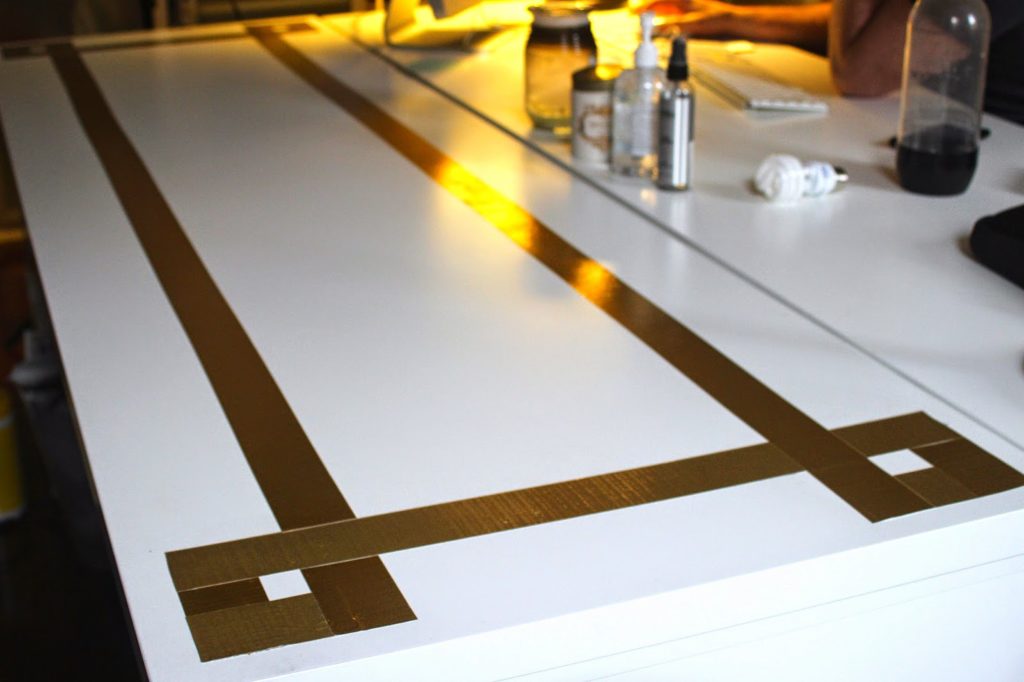
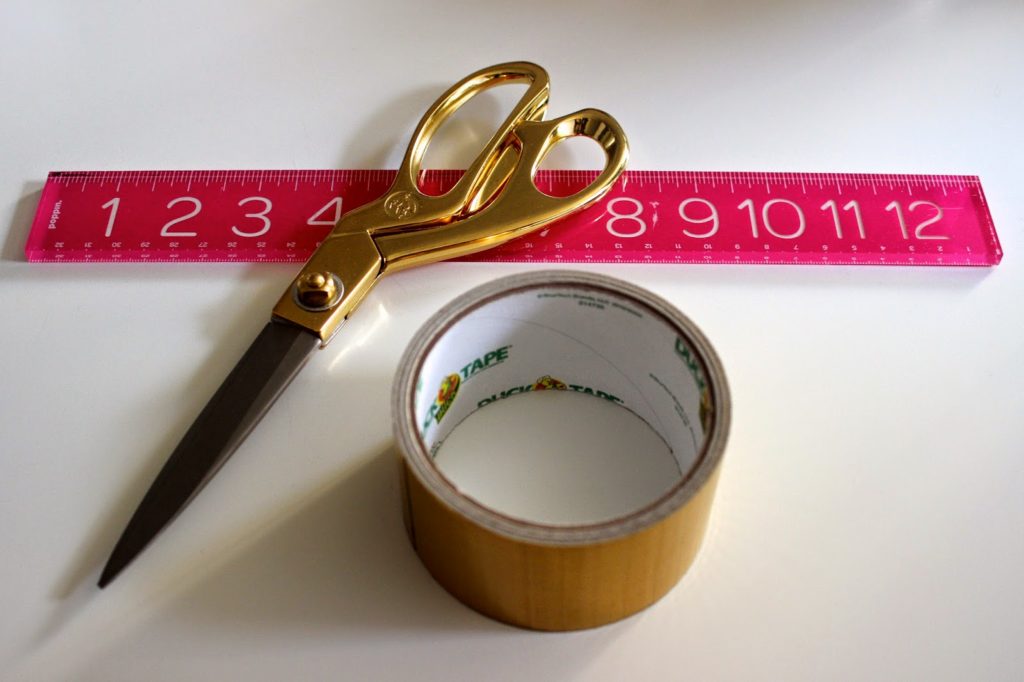
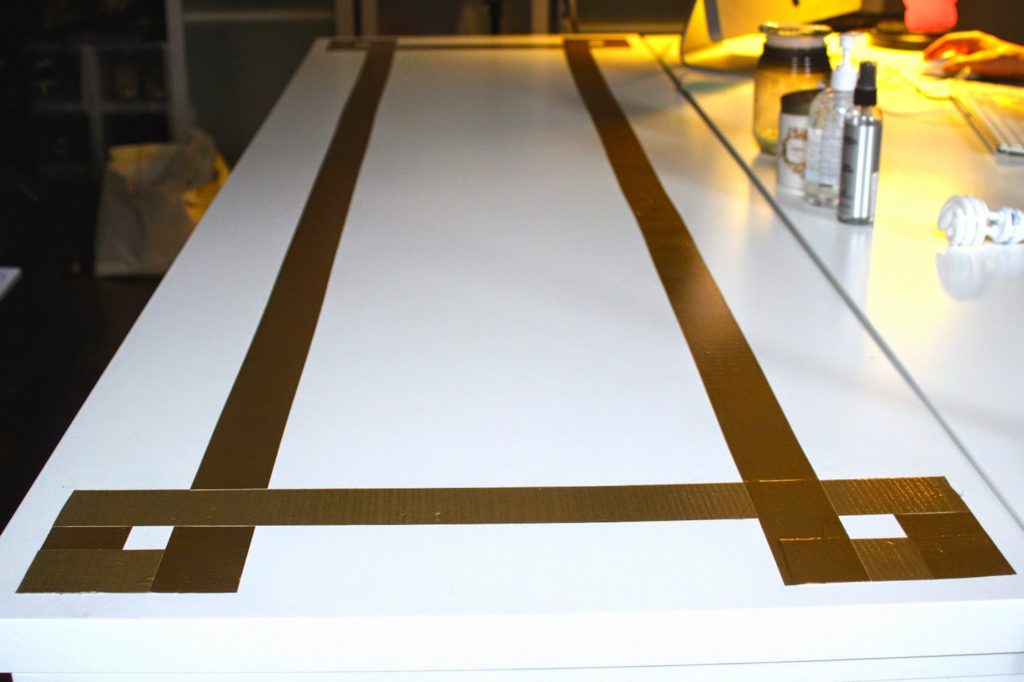
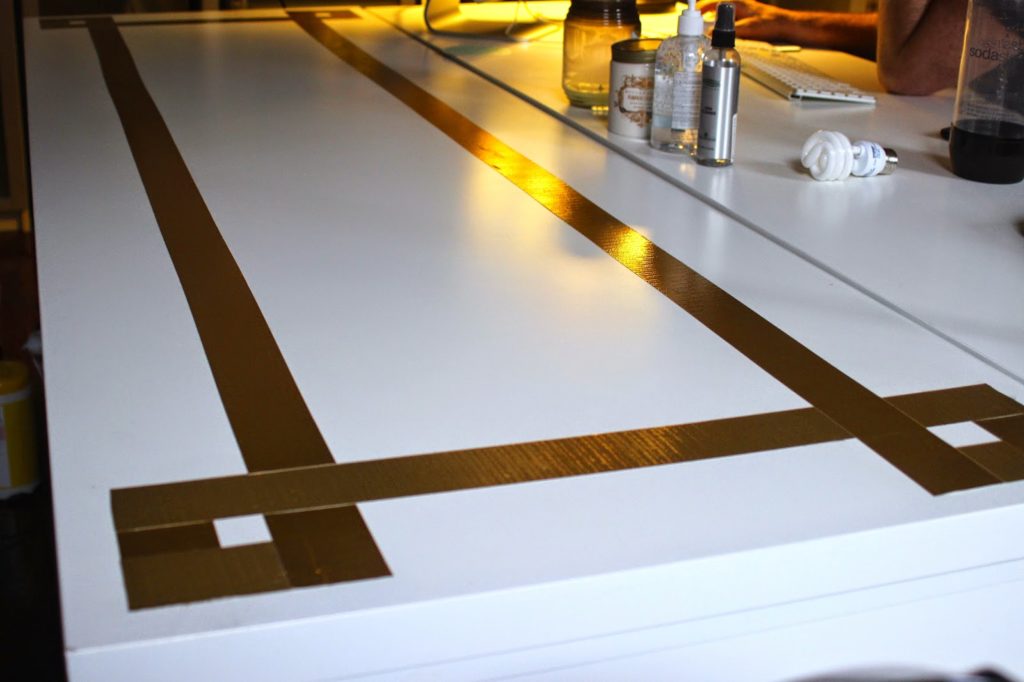
2. Once you decide the design you want, measure your table and decide where and how you want to place the tape. My design is a large rectagle with small squares at each corner. The rectangle is approximately 5 feet x 1 foot and the squares are 5 inches. Use the ruler to measure and keep your lines straight.
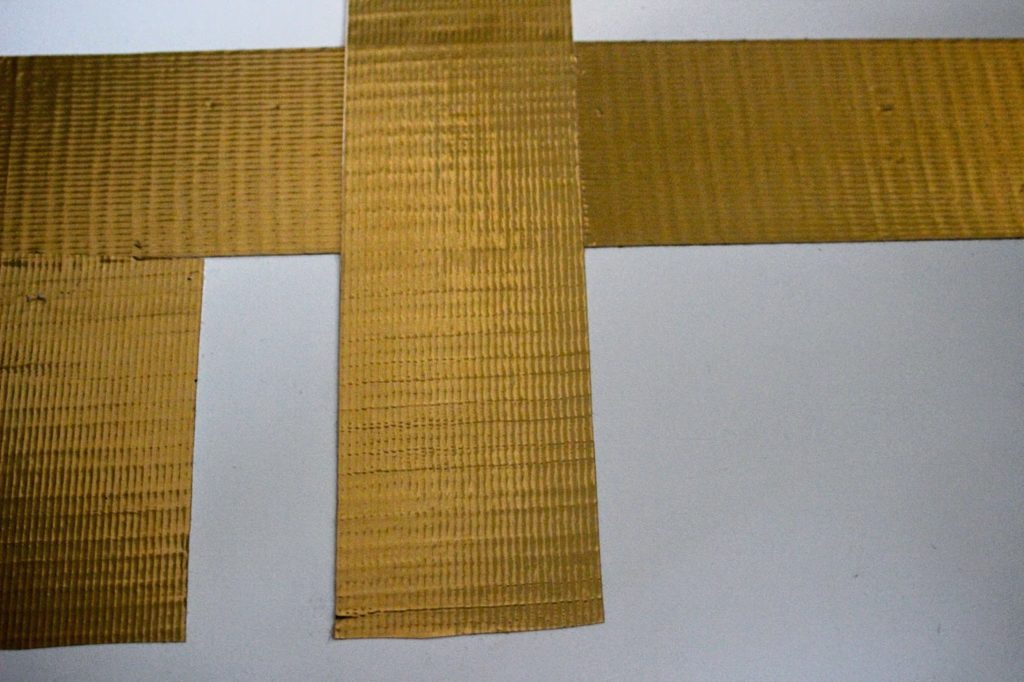
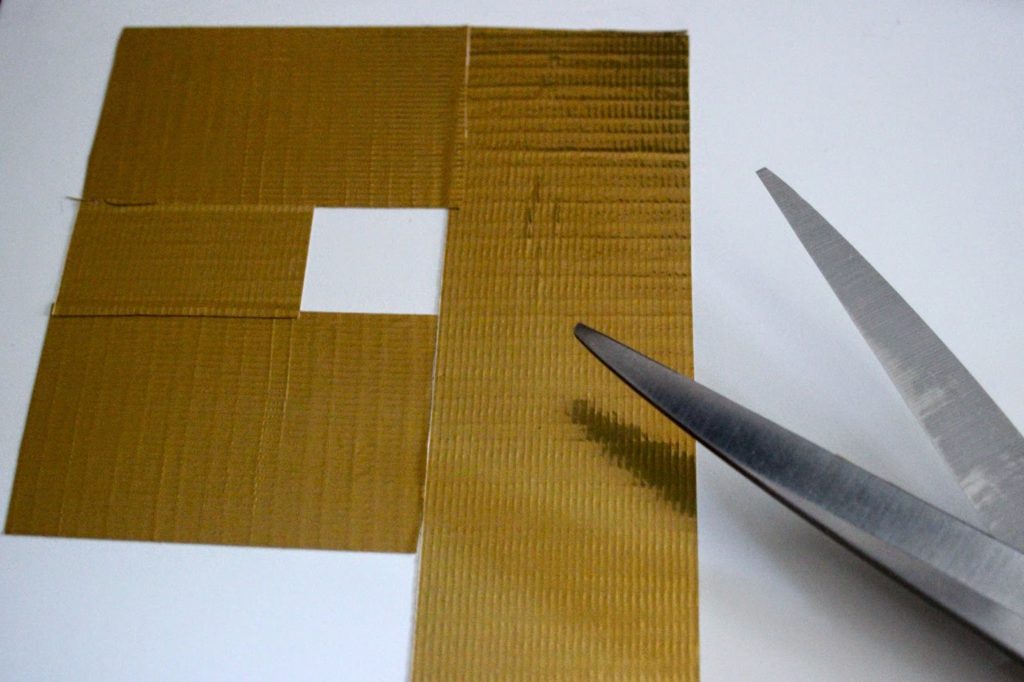
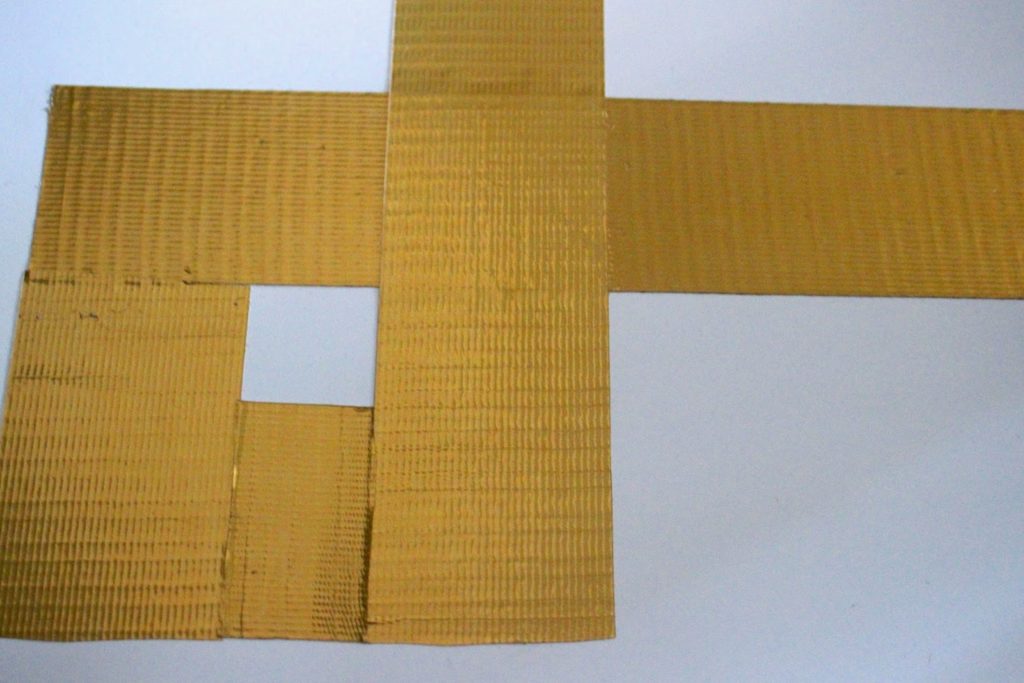
3. For the outer squares, you can cut each strip of tape and carefully place them next to each piece to create your square and the sides of the rectangle.
4. You can also choose to overlap the pieces. It’s up to you. I think either way looks just fine.
5. Stand back and enjoy your special DIY custom Ikea desk!
What do you think? Will you be trying out this easy DIY project? Have other ideas on how to customize Ikea furniture? Let me know in the comment section below.

